
OpenWRT gives users deep control over networking and system settings. Some QNAP NAS owners want to replace QTS with OpenWRT for better performance, firewall settings, or privacy features. This guide explains how to install the OpenWRT .img firmware on a compatible QNAP device step by step, without skipping important safety checks.
Can You Install OpenWRT on a QNAP NAS?
Yes, but not all QNAP models are supported.
OpenWRT supports certain ARM-based and older QNAP models. Each NAS has different hardware and bootloader setups. Before starting, check your exact model on the OpenWRT hardware table.
Example supported models:
- QNAP TS-231
- QNAP TS-251+
- QNAP TS-431P
If your device isn’t listed, don’t flash anything.
What You Need Before You Start the Process?
You can’t install OpenWRT without prep. Here’s what you must have:
- A compatible QNAP model
- Latest OpenWRT .img.gz file for your device
- A Linux system or virtual machine for flashing
- Ethernet cable
- Stable power connection
- SSH or serial access (via UART)
- USB-to-TTL adapter (for some devices)
Optional but useful tools:
- PuTTY or Tera Term (for terminal access)
- WinSCP or SCP (for file transfers)
- A backup of your QTS configuration and data
If you skip any of these, you may brick your NAS.
Download and Prepare the OpenWRT Firmware

To get the right firmware:
- Visit the official OpenWRT download page.
- Choose your QNAP model from the list.
- Download the .img.gz file for your version.
- Verify the file hash (SHA256) to ensure it’s not broken.
- Unzip it using any archive tool (7-Zip, gunzip, etc.).
You should now have a clean .img file ready for flashing.
How to Connect to Your QNAP Using SSH or Serial Method?
You’ll need to connect to the NAS either via SSH (if QTS is still running) or serial console (if boot is broken or disabled).
1. SSH Method:
- Plug in Ethernet directly between NAS and PC.
- Set a static IP (e.g., 192.168.1.10 on PC).
- Connect using:
ssh admin@192.168.1.1
2. Serial Method:
- Use a USB-to-TTL cable.
- Connect to the NAS board’s UART pins.
- Open a terminal with 115200 baud rate.
- Press any key during boot to stop autoboot.
Serial access helps when SSH fails or firmware is wiped.
Flash the OpenWRT IMG to Your NAS
You now write the image to internal storage.
Follow given steps:
- Upload the .img file to the NAS using SCP or USB.
- Identify the correct storage device using:
lsblk or fdisk -l - Write the image using dd or similar tool:
dd if=openwrt.img of=/dev/sda bs=4M
Important: Replace /dev/sda with your actual disk or flash location.
Wait for the command to finish. Do not unplug during flashing.
Boot Into OpenWRT for the First Time
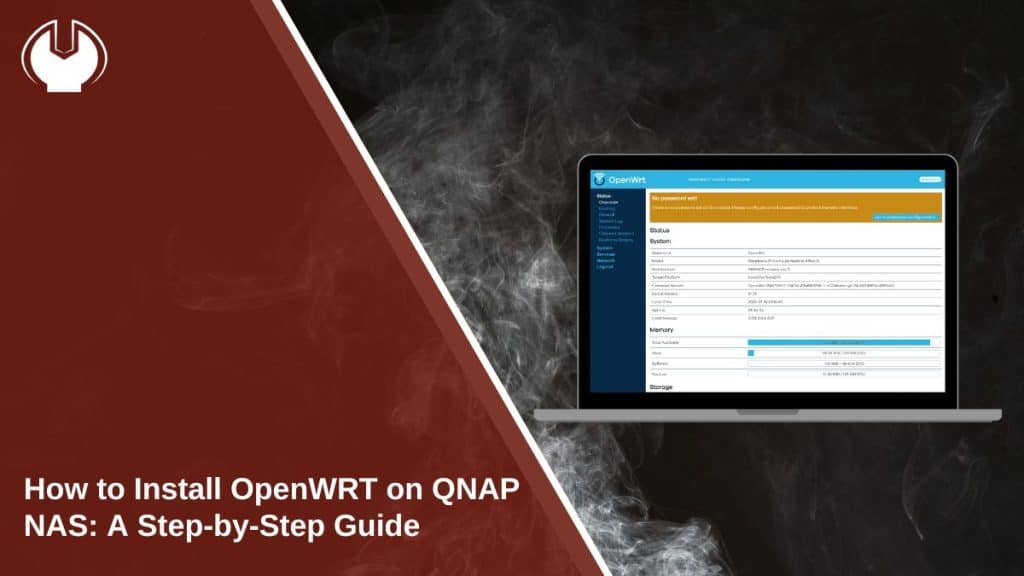
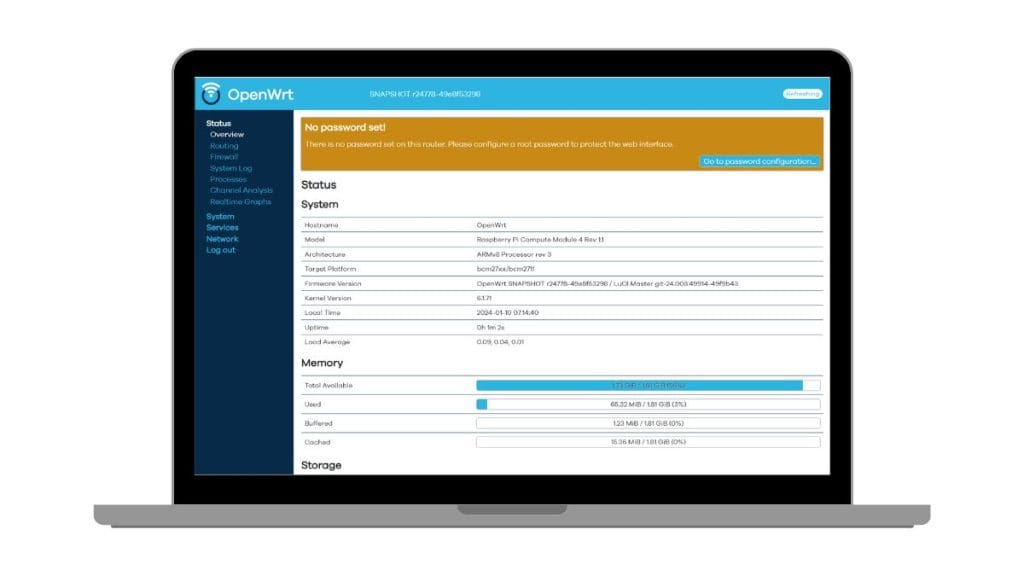
To boot into OpenWRT for the first time after flashing the firmware, you will need to reboot your NAS. Once it has been rebooted, connect an Ethernet cable to the LAN1 port on the NAS and then power the device on. Allow approximately two to three minutes for the system to fully boot up. After waiting, open a web browser on your computer, which should be connected to the same network, and navigate to the IP address 192.168.1.1.
This should load the OpenWRT web interface, known as LuCI. Use the default login credentials: the username is root, and you should leave the password field blank. If the web interface fails to load, you may need to try accessing the NAS via SSH again to verify the network configuration.
Setup Network, Password, and Security

Once you have successfully logged into the OpenWRT web interface (LuCI), you should proceed with the initial setup to secure and configure your device. First and foremost, create a strong, unique password for the root account to replace the default blank password. Next, configure the LAN IP address of the OpenWRT device so that it fits within your existing local network’s IP range. You will also need to set up the DHCP server and DNS settings according to your network requirements.
It’s a good practice to check the system logs for any important boot messages or potential errors that might have occurred. For security, ensure the firewall is enabled and consider disabling any services that you do not plan to use.
If the LuCI web interface did not load automatically and you initially accessed the device via SSH, you can install it manually by running the commands opkg update followed by opkg install luci in the command line; this will provide the graphical interface for easier configuration.
Can You Go Back to QNAP Firmware?
Whether you can go back to the QNAP firmware depends on your specific model, as some QNAP devices support dual firmware, which allows booting from the secondary partition. To revert, you can use recovery mode or QNAP’s Qfinder tool and reflash QTS via USB or a network bootloader, which requires the original QTS firmware package.
However, keep in mind that if you have overwritten both boot slots, returning will necessitate using a USB recovery or serial method.
Is It Worth Running OpenWRT on QNAP?
For many users, running OpenWRT on a QNAP device is worth it. OpenWRT provides full control over various aspects, including firewall rules, VPN setups, QoS, and VLANs. 1 It also offers a lightweight system load and enables secure remote access. 2 While QTS is primarily designed for storage purposes, OpenWRT is specifically built for networking tasks.
Consequently, if your QNAP device is no longer being utilized for storage, installing OpenWRT can effectively transform it into a powerful router or dedicated firewall box. 3
Conclusion
Installing OpenWRT on a QNAP NAS isn’t for everyone. But if you have a supported model and want more from your device, it’s a smart move. Follow each step carefully and don’t skip safety checks. Once done, your old NAS becomes a flexible, open-source networking tool.
Found this helpful? Share it with others or drop a comment below with your experience or setup questions.