

Have you ever found an intriguing image online and wanted to know more about it? Maybe you’re shopping online and wish to confirm if a product picture is authentic, or perhaps you’ve come across a stunning photo and want to find its original source. This is where reverse image search tools come in handy. Whether you’re using Google, Bing, or an iPhone, there are multiple effective ways to perform a reverse image search. In this guide, we’ll break down each method step-by-step to help you become a reverse image search pro.
What is Reverse Image Search?
Reverse image search is the process of using an image file to find related information on the internet rather than using text-based queries. Instead of typing keywords, you upload an image or provide its URL, and the search engine scans the web for matching or similar images.
Why Use Reverse Image Search?
Before diving into the methods, let’s briefly explore why you might want to use reverse image search:
- To identify people, places, or objects.
- To verify the authenticity of images or detect fake profiles.
- To find the original source or higher-quality versions of an image.
- To locate products by image when you don’t know the name.
- To detect image copyright violations.
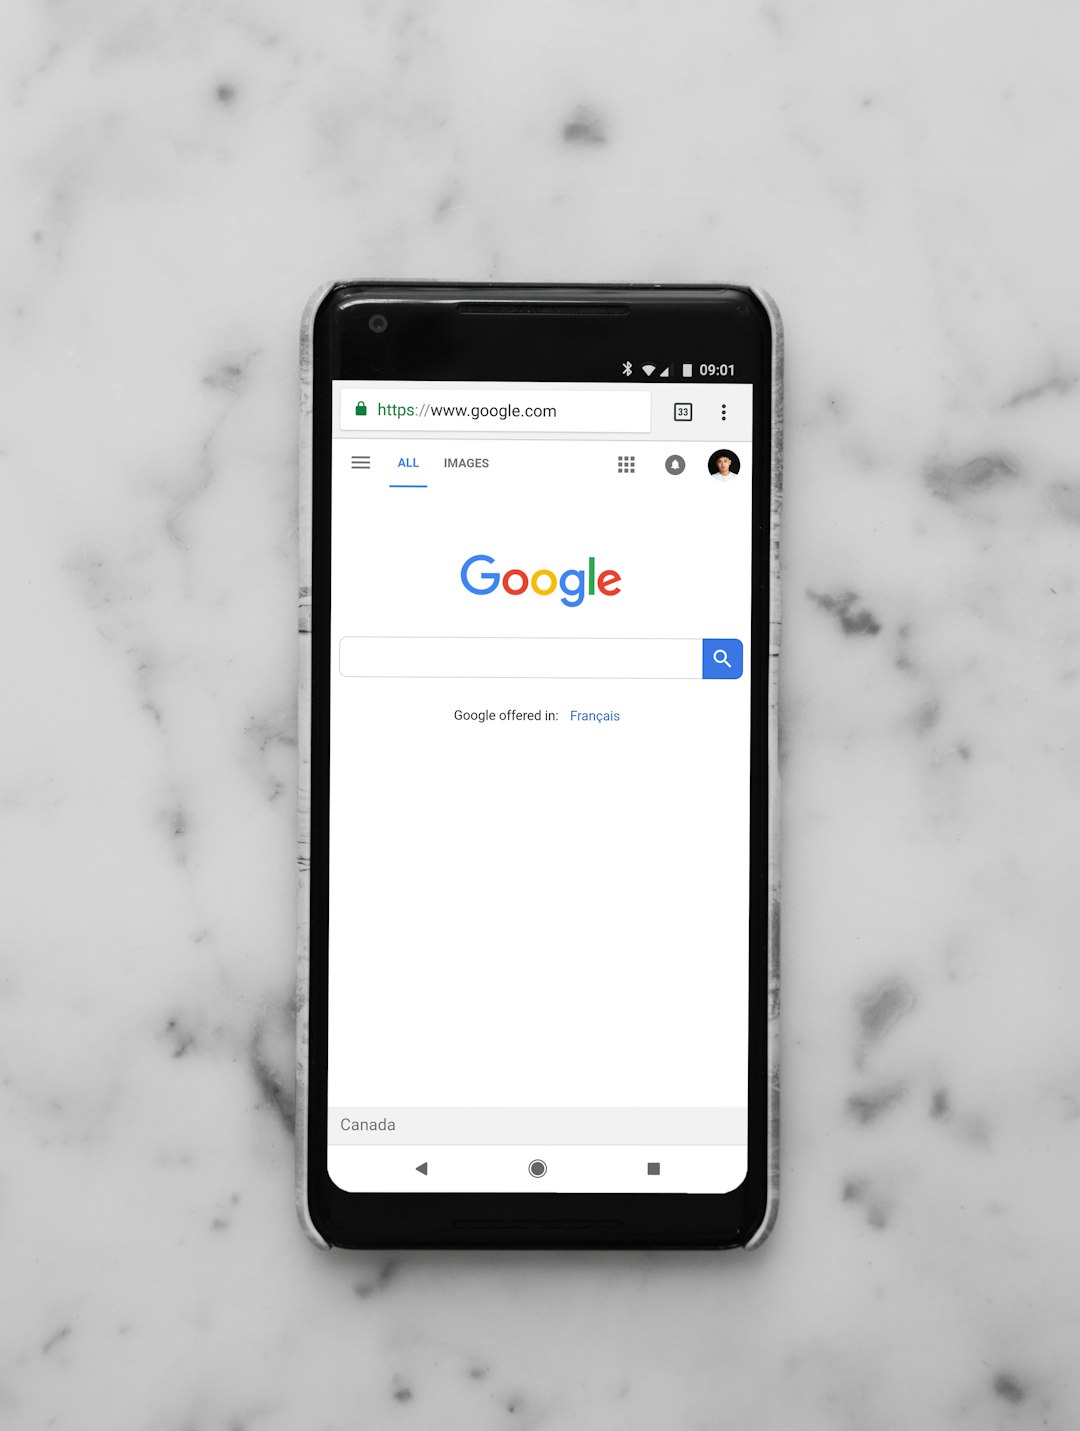
How to Reverse Image Search on Google
Google’s reverse image search is one of the most popular tools, and it supports both desktop and mobile platforms (with slight variations). Here’s how to use it:
Using Google on Desktop
- Open your browser and go to Google Images.
- Click the camera icon in the search bar. This opens the reverse image search interface.
- You now have two options:
- Paste image URL: Copy and paste the image’s web link.
- Upload an image: Click “Upload an image” and choose a file from your computer.
- Google will analyze the image and display visually similar images, along with possible source pages.

Using Google on Mobile
There’s no direct camera icon on mobile browsers, but there are still ways to do it:
- Open the Chrome app on your Android or iOS device.
- Navigate to a webpage that has the image you want to search.
- Tap and hold the image until a menu appears.
- Select “Search image with Google” or “Search Google for this image”.
- Results will appear in a new tab showing visually similar images and web pages where the image appears.
Note: If this option doesn’t appear, make sure you’re using the desktop version of the site through your browser settings.
How to Reverse Image Search on Bing
Microsoft’s Bing has its own reverse image search function known as Visual Search. It’s user-friendly and offers excellent results.
Using Bing on Desktop
- Visit Bing Images.
- Click the camera icon on the search bar.
- Choose among the options:
- Drag and drop an image directly into the search area.
- Copy and paste the image URL.
- Upload an image from your device.
- Bing will process the image and return matching search results, similar content, and objects detected within the photo.
Using Bing on Mobile
- Open a mobile browser and go to Bing Images.
- Tap the camera icon.
- Select whether to take a new photo or upload one from your phone.
- After the image is processed, results will display related content and clickable hotspots in the image.


How to Reverse Image Search on iPhone
Using reverse image search on an iPhone is straightforward but depends on the browser or app you use. Here’s how to do it with both Safari and Chrome.
Method 1: Using Safari and Google
- Open the Safari app on your iPhone.
- Go to images.google.com.
- Tap the aA icon in the upper left-hand corner of the address bar and choose “Request Desktop Website.”
- The camera icon should now appear in the search bar. Tap it.
- You can upload an image or paste a URL to perform a reverse search.
Method 2: Using Chrome App
- Install and open the Chrome browser on your iPhone.
- Find the image you want to search and tap and hold on it.
- In the menu that appears, choose “Search Google for This Image.”
- Chrome will open a new tab with reverse search results.
Method 3: Using Google Lens App
- Download the Google app from the App Store if you haven’t already.
- Open the app and tap on the Google Lens icon in the search bar (it looks like a small camera).
- Allow camera access and either take a new photo or upload one from your photo library.
- Google Lens will instantly perform a visual search and display all matching or related results.

Tips to Improve Your Reverse Image Search
Sometimes, images may yield limited or irrelevant results. Here are some tips to improve your reverse image search outcomes:
- Use high-resolution images whenever possible—clearer images produce better matches.
- Crop unnecessary parts of the image before uploading, especially if you’re targeting a specific object.
- Try different search platforms: if one doesn’t provide satisfying results, try another like TinEye, Yandex, Google, or Bing.
- Check metadata: EXIF data on original images (location, camera settings, etc.) can offer extra clues.
Privacy Considerations
While reverse image search is an amazing tool, always be cautious about the images you upload, especially personal ones. Though search engines claim not to store your uploaded images permanently, it’s best to avoid using private or sensitive content.
Conclusion
Performing a reverse image search is no longer a tech-savvy skill reserved for experts. Whether you’re identifying unknown locations, tracing the source of a meme, or shopping for fun gadgets you’ve only seen in pictures, tools from Google, Bing, and even your iPhone help make the process easy and effective. Try using multiple methods side-by-side, and you might be surprised at just how much information you can uncover from a single image!
Keep this guide handy the next time you stumble upon an image that piques your curiosity—you now hold the power to trace its origins right at your fingertips.