

Planning a trip can feel overwhelming. So many places to go, so little time. But what if we told you it could be fun, fast, and easy—thanks to Google Maps Trip Planner? Yup, your favorite navigation app is also a secret travel buddy. Let’s dive into a step-by-step guide that helps you plan like a pro.
Step 1: Sign in to Your Google Account
Before anything else, make sure you’re signed in to your Google account. This keeps your travel plans saved and synced across devices.
- Open Google Maps in your browser or app.
- Click the profile icon in the top right corner.
- Sign in with your Google credentials.
*Now, you’re ready to start planning!*
Step 2: Find Your Destination
Type in the destination you want to visit first. Maybe a city like Paris or a national park like Yellowstone.
- Use the search bar at the top.
- Click on the location from the drop-down list.
- Explore the area with satellite view if you want!
Zoom in to find cool spots: restaurants, shops, museums—whatever tickles your fancy.
Step 3: Save Places You Want to Visit
When you spot somewhere cool, don’t rely on memory. Save it!
- Click on the location.
- A menu pops up. Click “Save.”
- Add it to a list like “Want to Go” or create a custom list like “Italy 2024.”
Organizing your lists by trip makes your itinerary super manageable.


Step 4: Create a Custom Map with My Maps
Want a bird’s-eye view of your trip? Use Google My Maps. It’s a different tool from regular Maps but still part of Google Maps family.
- Go to Google My Maps.
- Click on “Create a New Map.”
- Add different layers for each day or region.
- Add pins for attractions, hotels, coffee shops—you name it.
*Bonus: You can even color-code pins and add notes.*
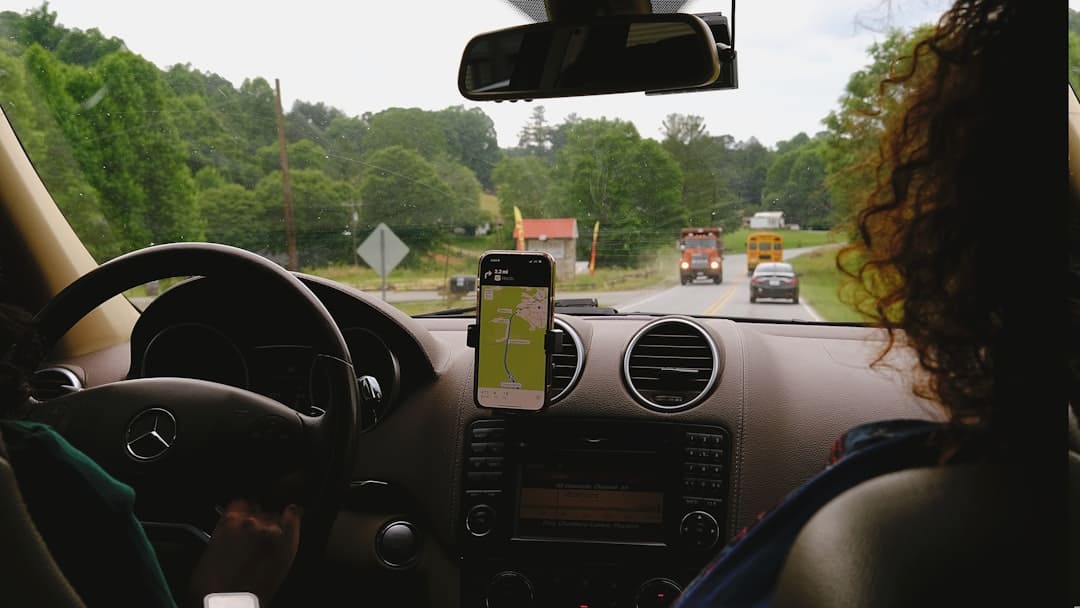
Step 5: Use Directions to Plan Daily Routes
Now it’s time to sort out your days! You can calculate walking, driving, or public transport time between each spot.
- Click on “Directions.”
- Enter your starting point and destination.
- Choose your mode of transport.
Want to make a multi-stop day? Hit the “+” symbol to add more places.
This helps you group activities by location and saves time on the road.
Step 6: Check Opening Hours and Reviews
Not all museums and restaurants are open 24/7. Google Maps tells you when places open and what people think.
- Click on the place marker.
- Scroll down to see hours, photos, and top reviews.
This way, you avoid wasting time on closed spots and find the gems loved by locals.
Step 7: Use “Explore” for Hidden Gems
If you’re not sure what to do in a city, the “Explore” feature is perfect.
- Search a city or neighborhood.
- Scroll down to see trending spots, top places to eat, sights to see, and upcoming events.
*Tada! Instant itinerary ideas.*

Step 8: Share Your Trip Plan
Traveling with friends or family? Don’t keep the plan to yourself.
- On Google My Maps, click “Share.”
- Give access to view or edit your map.
- Copy the share link and send it to your crew!
Everyone stays informed and excited about the journey ahead.
Step 9: Download Offline Maps
No Wi-Fi? No worries.
- Search for your city/area in Google Maps.
- Click on the name of the place.
- Select “Download Offline Map.”
This feature is a lifesaver in remote areas or countries with expensive mobile data.
Step 10: Use Google Calendar to Sync Plan
If you’re using Google Maps and Google Calendar together, you’re unstoppable.
- Add places and tours to your calendar manually.
- Attach Google Map links and address details to each event.
It’ll send you reminders and help you stay on track.
Step 11: Try Travel Times and Traffic Prediction
Want to know the best time to go from Point A to B?
- Enter your route.
- Click “Depart at” and choose a different time/date.
- Google will estimate how long the trip will take.
This is super useful for airport runs or planning around rush hours.
Step 12: Explore Street View Before You Arrive
Check what a place looks like before getting there—it’s kind of like time travel!
- Drag the yellow person icon (“Pegman”) onto a street.
- Move around virtually using your mouse or fingers.
You can even scope out entrances, parking spots, or scenic views.
Bonus Tips to Make Your Trip Perfect
- Label your accommodation: That way, you can find your way back easily.
- Bookmark popular streets: Like La Rambla in Barcelona or Broadway in NYC.
- Use voice commands: Just say “Hey Google, take me to the Eiffel Tower.”
- Check real-time public transport: See bus delays and train times in many cities.

Wrap-Up: Your Adventure Starts Now
Travel planning doesn’t have to be boring. With Google Maps Trip Planner, it’s like building your own magic map. You make the clicks, and the adventure unfolds. No spreadsheets, no chaos—just smart, fun planning.
So sign in, map it out, and explore the world one pin at a time. Happy travels!