If you want to find out how to add social icons to the author’s bio, you have come to the right place! If you aren’t new to WordPress, then you probably know that there are multiple ways of adding social icons, but not all are simple and quick to set up. For example, if you are familiar with PHP (coding), you can code your own author box and add social icons to them. However, even if you use someone else’s code (save time), when you decide to change something, you’ll have to do your own coding to edit the scripts. You can find PHP examples here and here. Nevertheless, I’d recommend you skip the coding part and use tools, which are created to do the hard work for you and save some of your valuable time. There is no need to complicate your life by having to write a different code each time you want to change something.
The easiest way to do it is to use WordPress plugins. Yes, there are many plugins to choose from, but not all offer the same features, and I’ve chosen Simple Author Box. This WordPress plugin has more features and is better optimized than the other ones, which results in better performance and compatibility support.
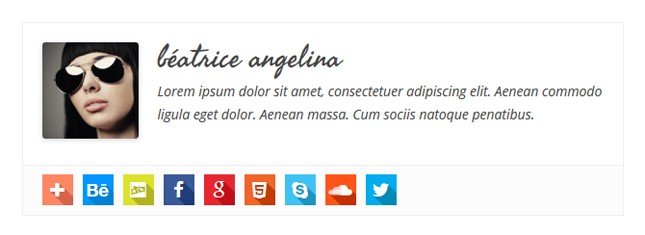
The plugin supports every social network and makes following your authors on social networks almost effortless.
The best thing about the plugin is that it is completely customizable and offers many features such as positioning the author box (bio), changing the colors, adding multiple social icons/networks (Facebook, LinkedIn, Instagram, Twitter…), etc.
If you want to, you can disable the options/features that you don’t need or want visible on your WordPress site.
Your visitors can easily share and view your author’s social network profiles. This will boost your WordPress site’s traffic and allow your site to expand further.
Adding social links to author biographies makes it easier for your visitors to bond with your site’s authors. This way, the visitors get to know the authors better, and it leads to better exposure, which is always good for online businesses. Once your visitors and authors are connected on a deeper level, the incentive to share author profiles, and your site’s content is much higher.
Note that if you have multiple authors, you’ll have to add an author box for each author separately. You can do this with just a few clicks in the settings menu.
If you’ve tried other plugins in the past, the installation process is similar, but at the same time, the configuration is much easier.
Let’s get to know this plugin, its features, and how to use it properly!
Simple Author Box PRO
Many web developers widely use this WordPress plugin, and its popularity has been on a constant rise. Furthermore, this isn’t your average plugin with just a few barely customizable features. It offers a vast number of features, and not only does it show the author’s bio, but it also allows you to add social links to it, and most of the features can be easily customized.
It is very easy to use and configure, which makes it my number one choice.
If you are looking for a fully responsive plugin that will have the least toll on your site’s performance, this is the product for you.
Simple Author Box lets you display your author name(s), biography, gravatar, social icons/links, etc. and you don’t have to worry about any negative side effects.
With the Post type support feature, you can individually set specific post types and position the author box according to your own choice. Also, you can customize your author box’s appearance, as well as customize control margins, layout, padding, and more.
For multiple authors, you must set up an author box for each author, and of course, you can customize them too.
Assign posts to guest authors without even creating an account for them with just a few clicks. This means more content for your site and, most likely, higher traffic numbers in the long run.
The link control feature lets you adjust how the links from the author box behave. Set the links to open in a new tab, and if you wish to, set the “nofollow link” attribute.
Try out various templates and see which one fits best or simply customize color schemes and design it to your liking.
Gutenberg Block support lets you assign and edit author boxes with the WP Author Box Gutenberg Block.
The best thing about this plugin is that it supports more than 45 social icons (Facebook, LinkedIn, Twitter) to author boxes, which makes following authors and site contributors on social media easier than ever before.
Widgets can show your most reputable authors by showing their profiles on your site/posts.
In case you are unhappy with the product, you can get a full refund within (the first) 14 days.
When your license key expires, you’ll still be able to use the plugin, but you won’t receive any support or product upgrades. Still, your previous work will remain intact and yours truly.
You can contact the support if you have any problems or questions related to the product.
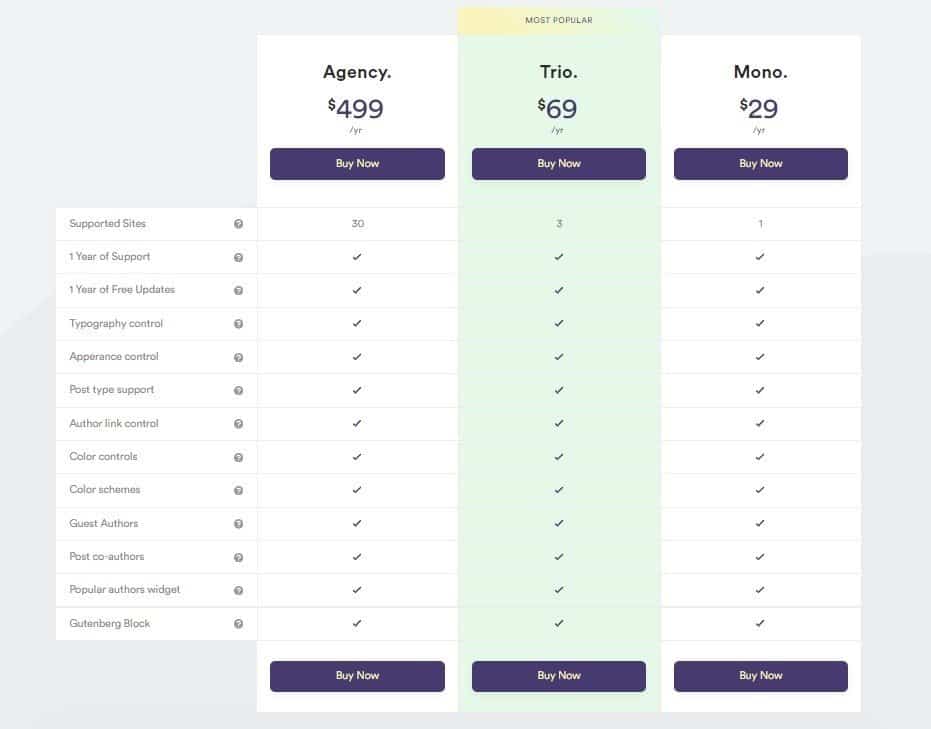
For those with just one site, I recommend going with the “Mono” (1 year) option, but if you have multiple sites, you’ll have to go for the more expensive option(s).
Features
- Set the author’s name to link to its website
- Choose the position of your author box
- Rotate effect on author avatar hover
- Open author website link in a new tab (on/off)
- Assign the “nofollow” attribute
- Add and customize social icons type, style, and effects
- Use any font and size
- Add guest authors and co-authors
- Use guest authors as co-authors
- Top authors widget – displays the highest-ranking authors
- Simple author box widget – shows the selected users
Simple Author (PRO) Box Plugin Installation Process
Step 1
Go to this link and buy a license for the plugin!
Step 2
Download the plugin (.zip file) and unzip it wherever you want on your hard drive.
Step 3
Upload the simple author box (unzipped) folder to the /wp-content/plugins/ directory.
Step 4
Activate the plugin from the “Plugins” menu!
Step 5
After activating the plugin, you can go to Settings > Simple Author Box page and customize the position of the author box and add desired social icons.
Adding Social Icons to Author Bio
Go to your WordPress dashboard and click on edit your profile.
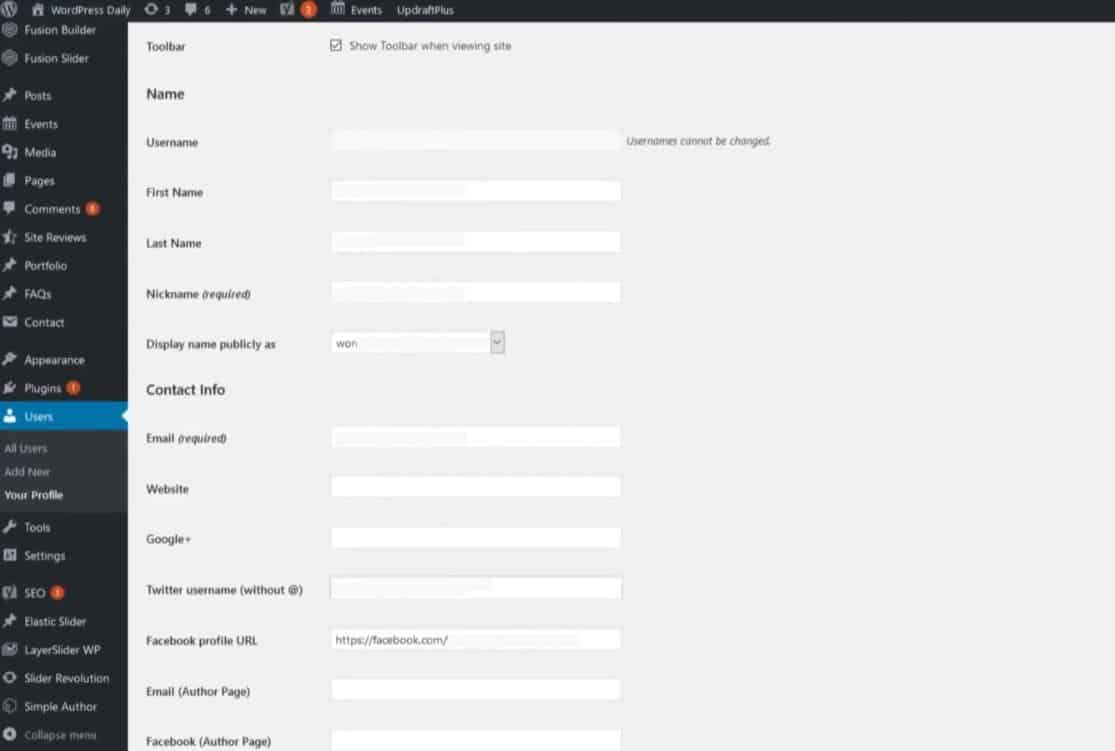
Scroll down and find “Social Media Links (Simple Author Box)”

Click on the dropdown menu “Add This” and select which social network icon you want to add. Type your social network URL (link) and click on “+Add new social platform”. Don’t forget that you can add multiple social networks from this tab.
Make sure to click on “Update Profile” at the bottom of the page to save and apply the changes.
To change the appearance and colors, go to “Simple Author Box,” and there you can customize the settings to your liking.
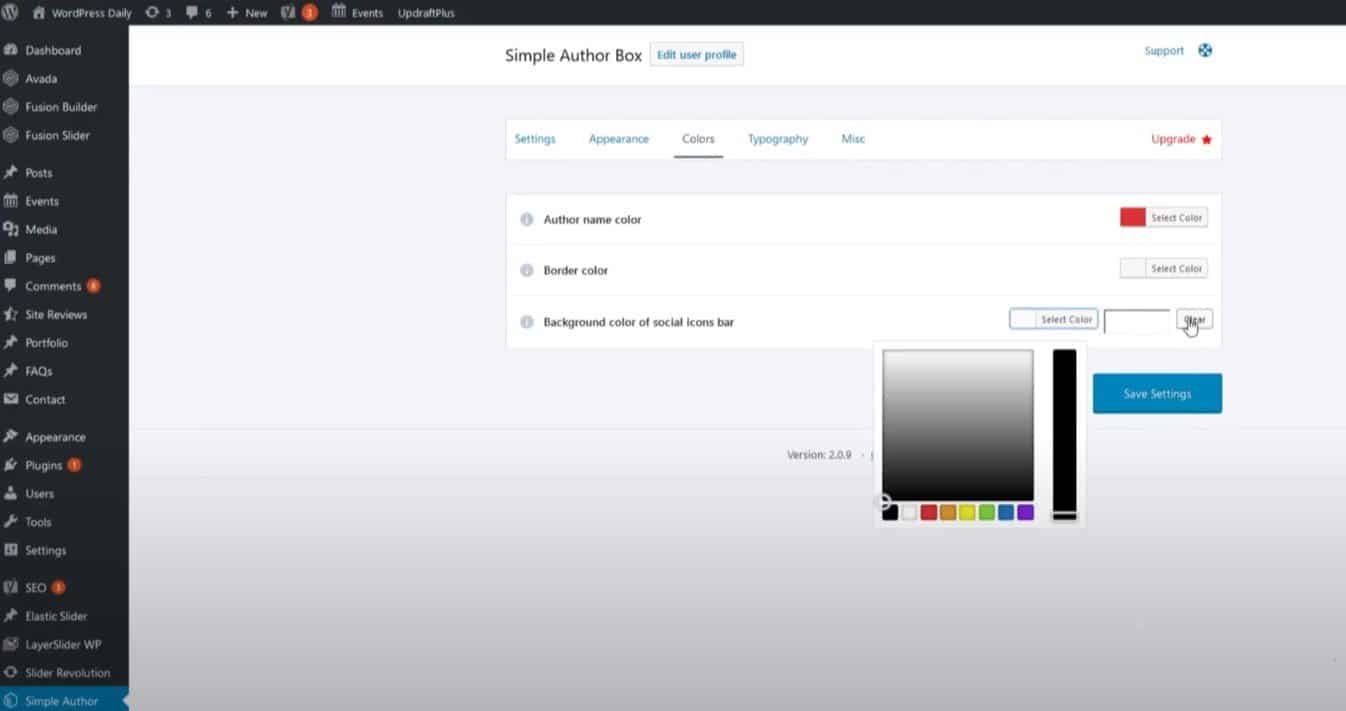
Click on “Save Settings” to apply the changes.
Conclusion
Adding social icons to your author biographies can be easily done with the help of a simple and effective WordPress plugin. This plugin has many other useful features as well, and the good thing is that it is customizable. By adding author biographies and social icons, your authors and site look more professional. Also, this makes it easier for your visitors to get to know your authors better and allows them to share the links much easier. All in all, this will definitely boost your user experience and result in much higher exposure.
Published on June 21, 2020 under author box, blog, website.