Upgrading or replacing the RAM on your HP 15-FD0081WM laptop can improve performance, enhance multitasking, and extend the device’s usability. This guide provides a step-by-step process for safely and effectively changing the RAM while addressing compatibility, tools, and troubleshooting.
Understanding RAM and Compatibility for HP 15-FD0081WM Laptop
Before upgrading the RAM in your HP 15-FD0081WM laptop, understanding its compatibility requirements is crucial. Installing incompatible RAM can result in errors, reduced performance, or even hardware issues. Here are the key factors you should evaluate:
1. RAM Type
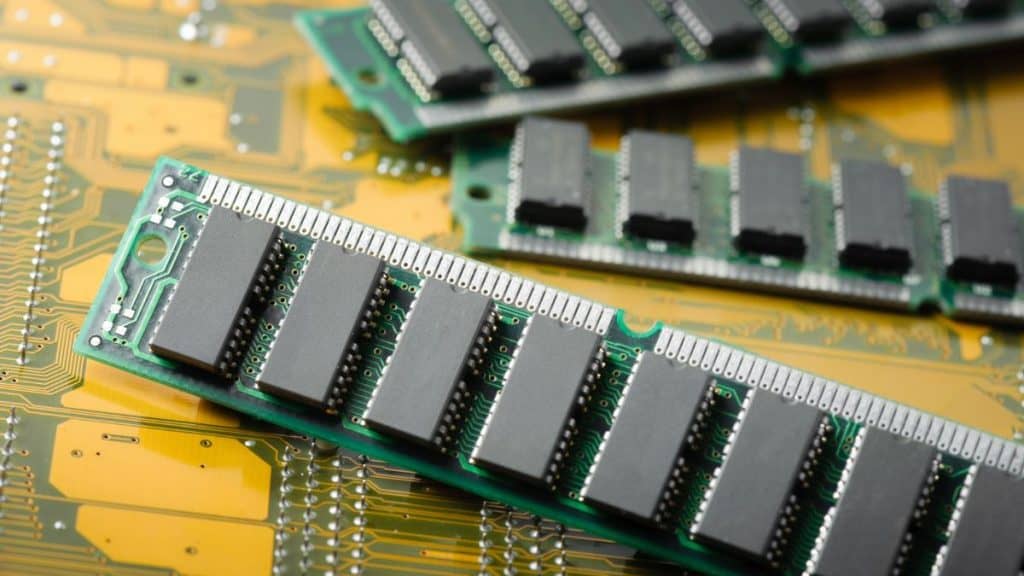
The HP 15-FD0081WM typically uses DDR4 SO-DIMM RAM.
- DDR4: Refers to the generation of RAM technology; DDR4 is faster and more efficient than previous generations like DDR3.
- SO-DIMM: A smaller RAM form factor designed for laptops and compact systems.
Ensure you select RAM labeled as DDR4 SO-DIMM for compatibility with your laptop.
2. RAM Speed
RAM speed, measured in MHz (megahertz), determines how fast data is transferred between the RAM and the processor.
- Common speeds for DDR4 RAM are 2400MHz, 2666MHz, or 3200MHz.
- Check the current RAM installed in your laptop to match the speed. Using RAM with a significantly different speed can lead to suboptimal performance or incompatibility.
You can verify the speed of your existing RAM in the Task Manager (Windows) under the “Performance” tab or by using third-party system monitoring tools.
3. RAM Capacity
The total amount of RAM your laptop can support depends on its motherboard and system design.
- The HP 15-FD0081WM usually supports 8GB, 16GB, or 32GB configurations.
- Check your laptop’s user manual or HP’s official website to confirm the maximum RAM capacity.
When upgrading, consider your usage needs:
- 8GB: Suitable for light tasks like browsing and word processing.
- 16GB: Ideal for multitasking, moderate gaming, and software development.
- 32GB: Best for heavy workloads like video editing, 3D rendering, and professional applications.
4. Trusted Brands
Choose RAM from reputable brands such as Corsair, Kingston, Crucial, or G.Skill. Trusted brands ensure better quality, stability, and warranty support, reducing the chances of performance issues or failures.
Tools and Preparation for RAM Replacement
Proper preparation is crucial to ensure a smooth RAM replacement process. Gather the following tools and set up your workspace:
1. Tools Needed
Replacing RAM in your laptop requires the right tools to ensure the process is smooth and safe. Here’s what you’ll need:
- Precision Screwdriver: This is essential for removing the screws that secure the laptop’s back panel. Make sure you have the correct size to prevent stripping the screws.
- Anti-Static Wrist Strap: Electrostatic discharge can damage the sensitive components inside your laptop. Wearing this strap while working minimizes the risk of accidental damage.
Ensure these tools are ready before you start to avoid interruptions during the replacement process.
2. Workspace Setup
Having a proper workspace is key to a safe and efficient RAM replacement.
First, choose a clean and flat surface like a sturdy desk or table. This provides stability and prevents accidental falls. Avoid working on soft or dusty areas that might interfere with the laptop’s internal components.
To reduce the risk of static electricity, avoid using carpets or rugs in your workspace. If possible, ground yourself by touching a metal object connected to the floor or using an anti-static mat.
By preparing your workspace correctly, you create an environment that ensures both safety and ease of work.
3. Backup Your Data
Backing up your important files is a precautionary step you should never skip, even if changing the RAM doesn’t usually affect your data.
Start by transferring critical documents, photos, and media to cloud storage like Google Drive, OneDrive, or Dropbox. These services allow quick and secure backups. Alternatively, use an external hard drive or a USB flash drive for local storage.
This extra step provides peace of mind, ensuring your data remains secure in case of any unexpected issues during the upgrade process.
Step-by-Step Guide to Changing RAM on HP 15-FD0081WM Laptop
Follow these detailed steps to safely replace or upgrade the RAM on your HP 15-FD0081WM for enhanced performance.
Step 1: Power Down the Laptop
Before you start, it’s essential to turn off the laptop completely to avoid any risk of electrical damage.
- Shut down the laptop through the operating system.
- Unplug the power cable to disconnect it from the electrical source.
- If your laptop has a removable battery, gently slide it out and set it aside.
These steps ensure the device is safe to handle during the RAM replacement process.
Step 2: Remove the Back Panel
Removing the back panel gives you access to the internal components of the laptop. Here’s how to do it:
- Turn the laptop upside down on a soft surface to avoid scratches.
- Use a Phillips-head screwdriver to unscrew all the screws on the back panel.
- Keep the screws in a safe place to prevent losing them.
- Carefully pry the back panel open with a plastic opening tool, starting from one edge and working around the panel.
Be gentle during this process to avoid damaging the panel or internal components.
Step 3: Locate the RAM Slots
Once the back panel is removed, find the RAM slots. These are usually near the center of the motherboard and may be covered by a protective flap or secured with metal clips.
The slots are designed to hold SO-DIMM RAM modules, and you’ll typically see one or two slots depending on your laptop configuration. Ensure the area is clean and free from dust before proceeding.
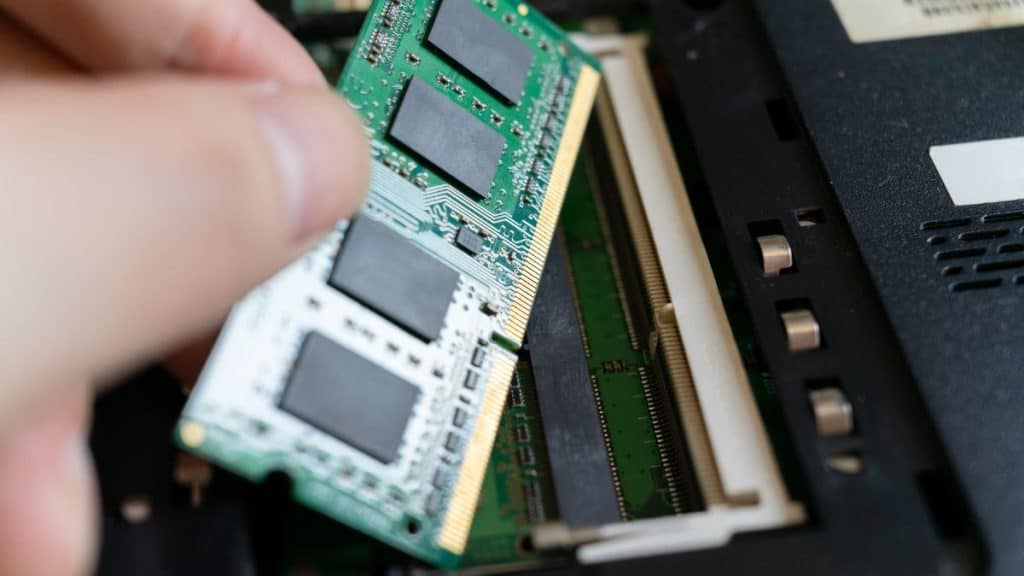
Step 4: Remove the Existing RAM
To remove the old RAM module:
- Push the metal clips on each side of the RAM slot outward. This will release the module.
- Once released, gently pull the RAM out at an angle. Avoid excessive force to prevent damaging the slot.
Set the old RAM aside carefully in an anti-static bag or another safe place.
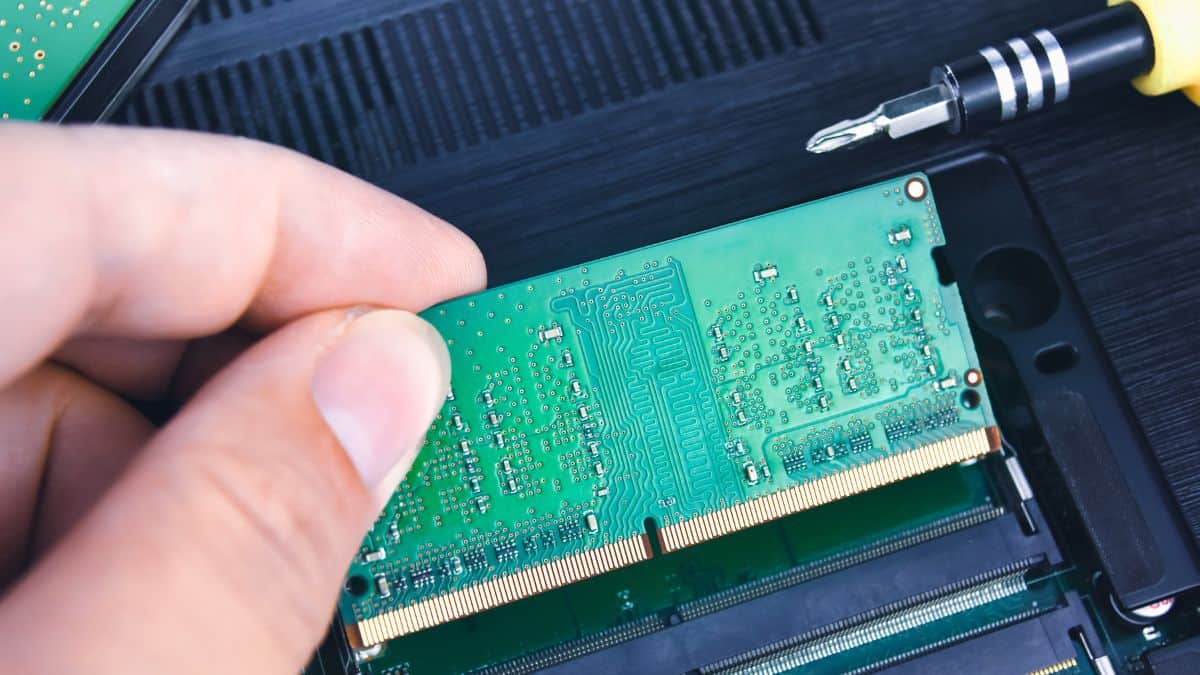
Step 5: Install the New RAM
Installing the new RAM is straightforward but requires precision:
- Align the new RAM module with the notch in the slot to ensure proper orientation.
- Insert the RAM at a 30-degree angle into the slot.
- Press down gently but firmly until the metal clips click into place, securing the module.
Double-check that the RAM is fully seated in the slot before moving on to the next step.
Step 6: Reassemble the Laptop
Now that the new RAM is installed, it’s time to close up the laptop:
- Place the back panel back onto the laptop.
- Secure the panel with the screws you set aside earlier, ensuring they’re tightened evenly.
- Reinsert the battery if it was removed and reconnect the power cable.
Ensure the panel is properly aligned to avoid any gaps or loose edges.
Step 7: Test the New RAM
Testing the new RAM confirms that the installation was successful:
- Power on the laptop and press the designated key (e.g., F2, F10, or Delete) during startup to enter the BIOS.
- In the BIOS, check the memory section to verify the laptop detects the new RAM.
If the RAM is recognized, the installation is complete, and your laptop is ready for use.
Common Issues and Troubleshooting
If the laptop doesn’t boot or recognize the new RAM, here are some steps to troubleshoot:
- RAM Not Detected: Ensure the RAM is properly seated in the slot. Remove and reinstall it if necessary.
- Incompatible RAM: Double-check the specifications of the new RAM. Mismatched speed or capacity can cause issues.
- Laptop Won’t Boot: Reset the BIOS by removing and reinserting the battery.
- Error Codes or Beeps: Refer to the laptop’s user manual to interpret error messages.
Benefits of Upgrading RAM on HP 15-FD0081WM
Upgrading the RAM can significantly enhance your laptop’s performance:
- Improved Multitasking: Run more applications simultaneously without slowdowns.
- Faster System Performance: Speed up operations like web browsing, video editing, and gaming.
- Future-Proofing: Extend the laptop’s usability by meeting the requirements of modern software.
Conclusion
Upgrading the RAM on your HP 15-FD0081WM laptop is a straightforward process that can significantly boost its performance. By following this guide, you can safely replace or upgrade your RAM to meet your computing needs.
If you found this article helpful, share it with others who might benefit from upgrading their laptop’s RAM. Let us know your thoughts or questions in the comments below!
Published on January 22, 2025 under .