The introduction of Stage Manager to the iPad lineup has marked a significant shift in how multitasking is handled on Apple’s popular tablet. With the release of iPadOS 16 and continued enhancements in subsequent updates, Apple has brought new toolsets to boost productivity and creative workflows. One of the most exciting enhancements is Stage Manager with external display support, transforming iPads—especially iPad Pro models with M1 or M2 chips—into more powerful, desktop-like computing devices.
This article explores pro-level tips for effectively using Stage Manager in conjunction with an external display. Whether you’re preparing your iPad for creative work, office tasks, or multitasking on the go, mastering this feature can significantly enhance your experience.
Understanding Stage Manager on iPad
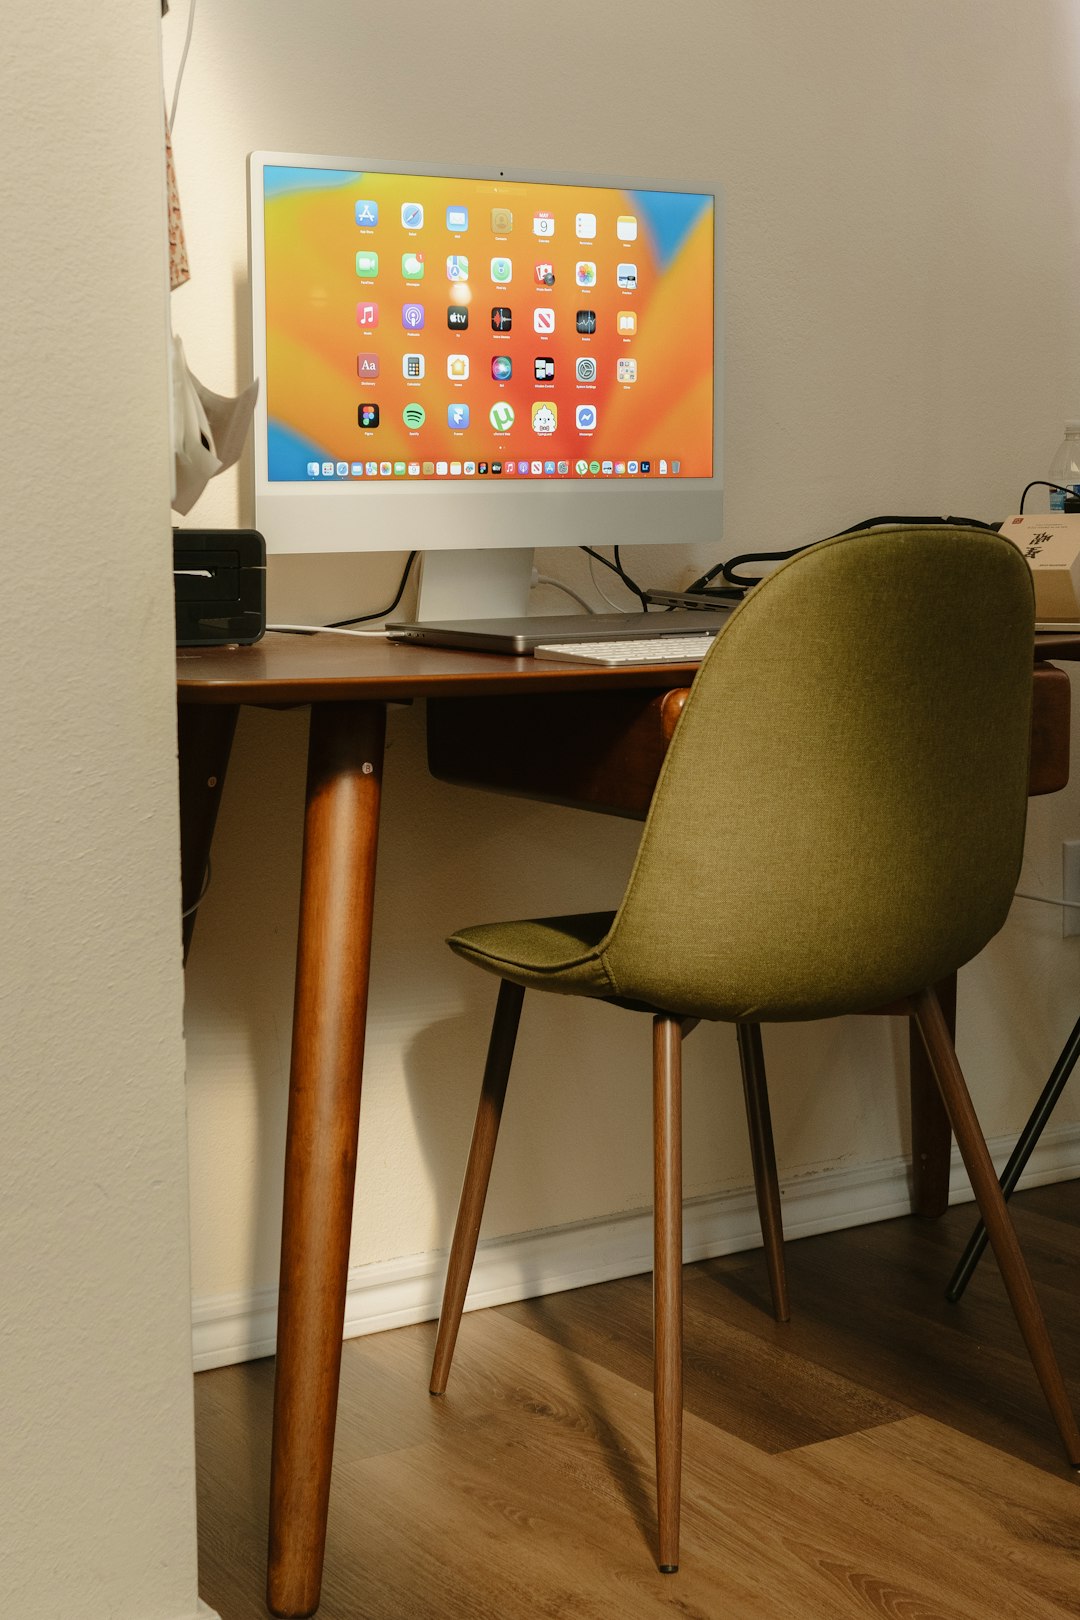
Stage Manager is Apple’s multitasking interface that allows users to run multiple overlapping windows, similar to the macOS experience. On iPads with supported hardware, the introduction of external display compatibility allows you to fully extend your workspace, making your iPad more versatile than ever before.
However, using Stage Manager across an external display requires a solid understanding of the layout, limitations, and capabilities of the current iPadOS version. Below is everything you need to know to get started and utilize this feature efficiently.
Hardware Requirements
Before connecting your iPad to an external display for use with Stage Manager, you need to ensure your hardware is compatible. Here’s a quick checklist:
- iPad compatibility: You’ll need an M1 or M2 iPad Pro or the M1 iPad Air.
- iPadOS version: Stage Manager with full external display support requires iPadOS 16.2 or later.
- Cable: A USB-C digital AV multiport adapter, USB-C to HDMI, or USB-C to DisplayPort—depending on your monitor input.
- Display: External monitors up to 6K resolution are compatible. Most users find best performance with displays in the 1080p to 4K range.
Once connected, your iPad will recognize the second screen and expand the interface, allowing Stage Manager to function across both screens.
Setting up External Display with Stage Manager
To get started with using Stage Manager on an external display, follow these steps:
- Connect your iPad to the external display using a compatible cable.
- On your iPad, go to Settings > Display & Brightness.
- Choose your external monitor from the layout interface and adjust its positioning relative to your iPad if necessary.
- Enable Stage Manager from Control Center or by going to Settings > Home Screen & Multitasking > Stage Manager.
This setup allows you to run separate app windows on your iPad and on the external screen simultaneously, each retaining its own app groups and navigation.
Tips for Better Workflow Management
Once you have Stage Manager running on both your iPad and the external display, here are several tips to help you maximize your productivity:
1. Use App Groups to Organize Tasks
Stage Manager allows you to group windows together. For instance, you can create one group for communication apps like Mail and Messages, another for creative work like Photoshop and Procreate, and switch between them effortlessly. This keeps each workflow compartmentalized.
2. Customize Display Arrangement
Via iPad settings, you can reposition your external monitor in relation to your iPad screen. This is especially helpful if the screens are physically stacked or side-by-side on your desk. Dragging apps between monitors becomes intuitive this way.
3. Know the Limitations
While Stage Manager is powerful, it’s still evolving. Here are a few caveats to watch for:
- Some third-party apps may not yet support full window resizing on external monitors.
- Not all games or media players support dual-screen output simultaneously.
- Window management gestures may occasionally conflict, needing manual repositioning.
Understanding these limits will prevent frustration and help you plan your layouts better.
Optimizing Display Settings
Once your external display is active, iPadOS provides customization tools for appearance and clarity. For optimal results:
- Adjust resolution and scale: Some external displays may initially appear blurry or low-resolution. Go to Display Settings and select your preferred scale.
- Match refresh rate: For smoother visuals, try to match your monitor’s refresh rate with apps demanding visual fluidity (like video editing software or games).
- Color calibration: For image editing tasks, color consistency between the iPad and external screen is vital. Use a calibrated display or adjust color profiles if available.
Keyboard and Trackpad Functionality
For a truly seamless experience, pairing your iPad with a physical keyboard and trackpad is recommended. Apple’s Magic Keyboard or a compatible Bluetooth setup can boost performance in a desktop-like environment.
Make sure your input devices are connected and properly configured in the Bluetoth and Keyboard/Trackpad settings of your iPad. With Stage Manager, both your iPad and external display can respond to pointer and keyboard commands simultaneously, enabling intuitive navigation and shortcuts across apps.
Working with Files and Drag & Drop
One of the most underutilized functions of Stage Manager on external displays is the powerful drag-and-drop feature. You can drag files, images, and text snippets from one app window on your iPad screen to another app running on the external display—and vice versa. This is especially helpful when you’re multitasking between apps like:
- Safari and Notes – for research work
- Photos and Keynote – for presentations
- Files and Mail – for attaching or organizing documents
It helps to envision your iPad plus external monitor setup as a dual-desktop workspace, allowing for real TOC-style productivity.
Stage Manager Use Cases
Whether you’re an artist, engineer, or everyday user, Stage Manager’s support for external displays can open up several new workflows:
- Creative Teams: View a reference board on the external display while you design in Procreate on the iPad screen.
- Video Editing: Use one screen for the timeline editor and another for the video preview.
- Developers: Run code editors on one display and preview apps in real-time on another.
Maximizing these use cases depends heavily on how well you organize your workspaces through Stage Manager. As support matures, more applications will begin tailoring their experiences for dual-display setups.
Final Thoughts
The integration of Stage Manager with external display support significantly shifts the capabilities of the modern iPad. What was once a content consumption device is now a fully capable productivity tool—especially in the hands of users willing to explore its nuanced interface.
Though the system still has room for refinement, those who adopt this workflow early will find a powerful multitasking companion in their iPad. With proper hardware, organization strategies, and the right apps, the iPad can truly function as a laptop alternative in many scenarios.
As future iPadOS updates continue to refine and simplify this experience, Stage Manager’s usefulness will only grow. Until then, these tips provide a strong foundation for getting started and making the most of your dual-screen iPad workspace.
Published on October 29, 2025 under .